

How to create a Windows PE Rescue Disk
A Windows PE based Rescue Disk extends Windows Bone recovery functionality, adding free and open up-source tools you can use to recover, restore, and analyze your ailing Windows 10 installation. In this post, nosotros will show yous how to brand a Windows PE rescue deejay.
How to create a Windows PE Rescue Disk
Y'all volition need ii items to successfully make a Windows PE Rescue Disk:
- The Win10XPE project.
- Windows ten (version 1709 or afterwards) ISO file. You can direct download the ISO using Edge or Chrome browser.
Once you have these items downloaded, you tin can now continue as follows to make a Windows PE rescue disk.
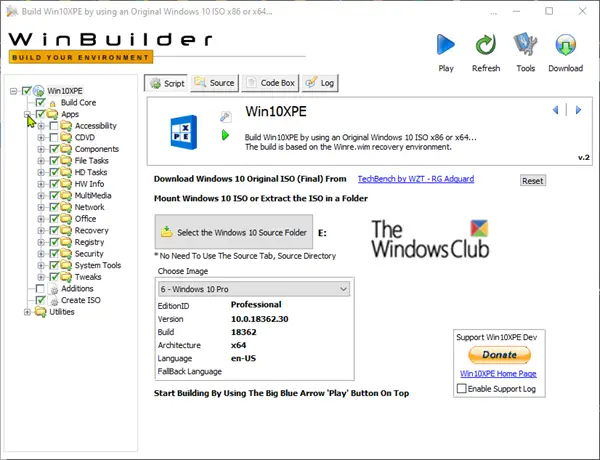
Excerpt or mountain your Windows 10 ISO and the compressed Win10XPE 7Z file using vii-Zip, then run the Win10XPE.exe file.
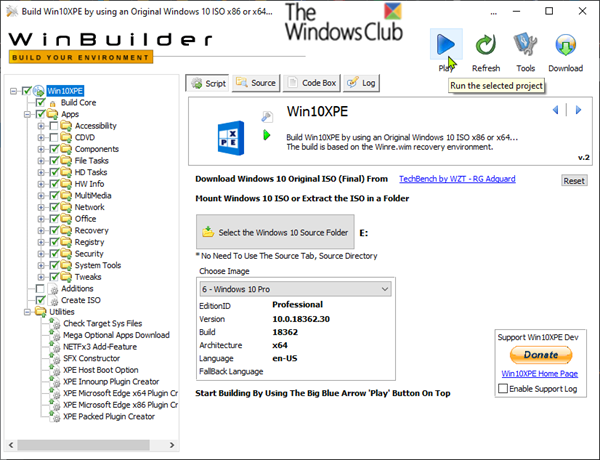
Navigate to the location of your Windows ten installation files. Click Select the Windows ten Source Folder in the main Win10XPE card.

Once the Windows 10 installation files have been loaded into the Win10XPE environment, you tin now go along to customize the tools yous desire to include with the Windows PE disk.
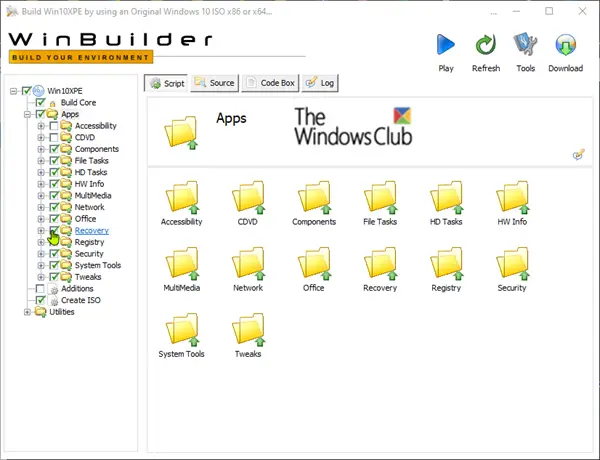
In the left-hand menu, click the + sign adjacent toApps to collapse that department.
You can now browse the sub-categories to select which tools you desire to inject into the Windows PE rescue disk. Win10XPE will use a default configuration. To inject the tools into your environment, check the box next to each option.
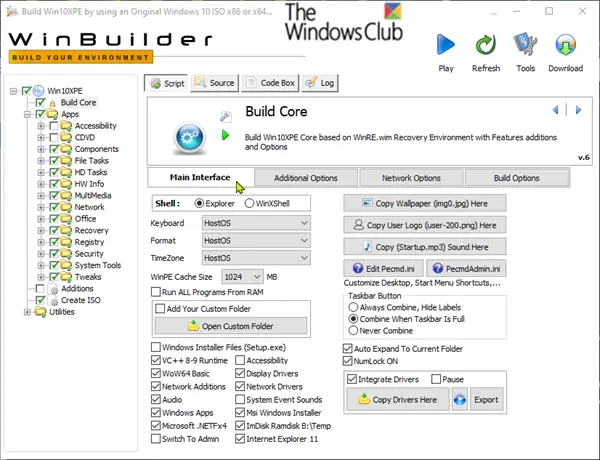
Click on Build Core in the left-hand side card to change the configuration. This sets various settings, like keyboard layout and locale, for your Windows PE build.
The defaultBuild Core menu configuration works for most users. If you want to utilise a wireless network connectedness in Windows PE, click the Main Interface tab and check Network Drivers, Network AdditionsandMicrosoft .NETFx4 options.
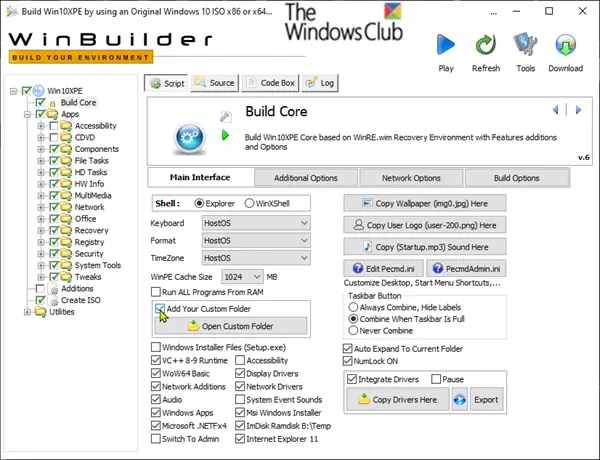
With PortableApps, or additional configuration files, you lot can also add custom files to your Windows PE surroundings.
To set Win10XPE to add together these, check the Add Your Custom Folder pick, and so click the Open Custom Folder button to copy your files to that location.
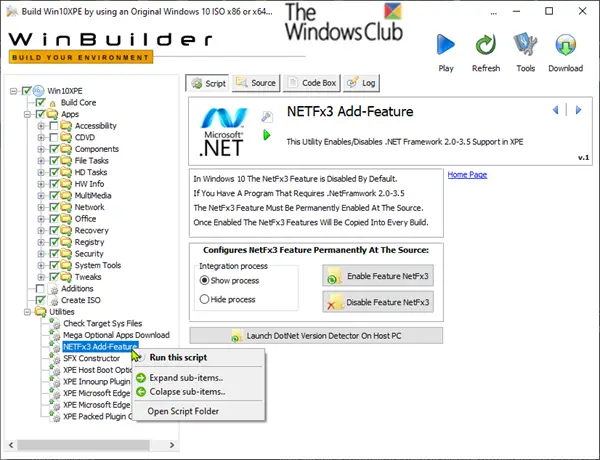
Lastly, most users may not need to configure the Utilities menu. However, if y'all do need to configure this department, for case, to enable the .Cyberspace Framework 2.0-3.v feature, click on the + sign adjacent toUtilities in the left-hand side menu, to collapse this section.
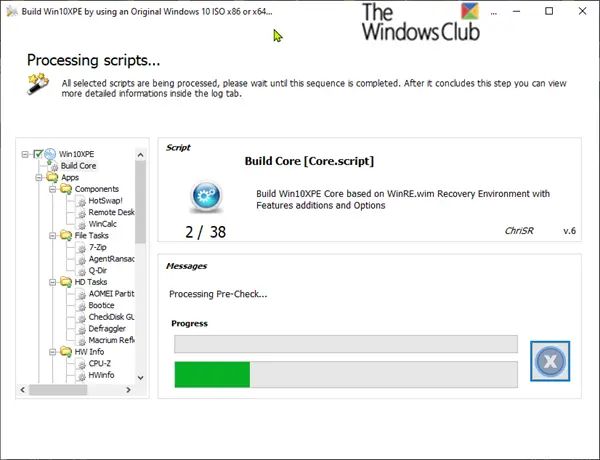
Once you take compeleted your Win10XPE configuration and your files are in place, you can proceed to build the image by clicking the Play push button.
The Win10XPE build process will plough your custom Windows PE environment into an ISO file.
If your installed antivirus program is blocking WinBuilder to run the build process, you can create an exception in the AV program.
So, one time the build procedure is complete, you lot tin and then create a bootable USB with the ISO.
That'due south it folks! You tin can now use the media to begin recovering your Windows 10 installation.

Source: https://www.thewindowsclub.com/how-to-make-a-windows-pe-rescue-disk
Posted by: bloomarou1944.blogspot.com
0 Response to "How to create a Windows PE Rescue Disk"
Post a Comment